Finally we have reached the fall season in the North American South, and the Autumnal Equinox has just passed. For some that means nothing more than one instance of equal parts day and night in late September. For those who grow, that means it’s time for fall prep and planting. By this time in Zone 8b, where I live, seeds are already started, beds have been prepped, and the time to plant seedlings outdoors is coming. Direct seeding into prepped soil is just around the corner. While there is no one recipe for seed-starting, there are some basics that if followed will ensure your success in building a strong foundation for a growing season. I’ll walk you through my process, its benefits, and its limitations as well. While I prefer to maintain a relatively permacultural outlook when it comes to growing plants, I do not stick to that in this article. For the sake of time and cost, I used many methods that are outside of that scope. But the methods I used are still within the scope of organic gardening.
On Soil
As I mentioned before, soil recipes can vary slightly based on what you have available and what seeds you wish to start. Overall, the recipe below worked well for me, but based on the plants you’d like to grow, it may require some extra care and maintenance. If you have lots of soil and soil amendments handy, you can do a quick browser search to see if you can cobble together starting soil from those items. Maybe you have all the items I’ve listed below, which in that case, great! Let’s get going. I used the following:
Seed-starting soil recipe
- 4 parts compost
- 1 part perlite
- 1 part vermiculite
- 2 parts peat moss/humus
- Sand (if needed for seed that enjoy sandier conditions)
You’ll need a cup handy and large receptacle in which to mix the elements together (1 cup equals 1 part). I used a small eight ounce plastic container as my cup and a large kitchen bowl to mix my recipe. It’s nice to have five-gallon buckets to mix the elements, but not absolutely necessary. In gardening, make do with what you have. Nature finds a away and so can you. Combine the soil parts together, reserving sand to mix only for sand-loving seeds. It can be added in small amounts.
Other Supplies
There are a few other items you’ll need to start seeds indoors. They are as follows:
Seed-starting supplies
- Seeds! (Pick plants that like to grow in your USDA zone at the right time – this planting calendar is useful if you don’t know your USDA zone or planting times. Use organic seed companies that guarantee they are GMO-free if possible.)
- Starting trays (multiple options – might I say, infinite options! See the containers below? I reuse anything I can get my hands on. Reuse is a great way to make your seed-starting venture affordable. Make sure there are holes in the bottom of the container to drain the water from your starts). If you plan to use peat pots, you can plant those directly into your garden bed.

- Counter/shelf space
- Grow light or adequate sunlight on the south side of your home
- Something to contain dirt and moisture from the bottom of your trays
- Labeling equipment (tape, markers, labels, etc)
Here is my setup:

I used a very small space this year as my kitchen counter isn’t ample in my home. I was able to fit all of my trays in a 2.5 foot by 3.5 foot space on our kitchen counter. There is also an outlet nearby that I can plug my grow light into. I received this grow light from a family member as a gift and it has been very useful. It’s also exceptionally inexpensive. You can find grow lights in many different places, though, and you don’t have to buy from large corporations to find something that will bring you success in seed-starting. In fact, it’s possible you could find one for free or very cheap on Craiglist or another similar outlet.
The space needs to be dirt and water-proofed. This could be as simple as a towel put underneath the trays to prevent direct contact with dirt and water in your space. I used two sheet pans to catch water that could then be reabsorbed into the roots of the seedlings if I over-watered. If you use a towel you’ll want to replace it on a regular basis so as to prevent mold.
Soft Supplies Needed
You’ll need to know:
- When to plant specific seeds and what soil they like (check the Farmers Almanac link above and the seed packet)
- How to plant those seeds (planting depths and soil types, usually listed on a seed packet)
- When to transplant them into larger containers when they outgrow the starting trays
- When to harden them off outdoors
- How much moisture to provide
- How much light they need
- Which plants are companions with other plants (the image below shows a garden plan which makes companion planting easier; please forgive my rather poor drawings)

Other soft skills that help are patience and understanding as well as consistent care and attention. Seedlings are like babies. They are not always fragile and susceptible to the environment they’re in, but they often are. Treat them as though they are new lives you’re bringing into the world. When you turn on your grow light in the morning, greet them verbally. I mean it! Play them some music. Give them purified water or spring water. They will appreciate the care you give them and grow in direct response to that care. Okay! I know this is cheesy, but these behaviors fall in line with other good gardening habits. There’s nothing wrong with looking at the world around you and treating it like a living, breathing being. I’d posit it’s a healthier way of living in and with the world.
The Process
Since your specific situation will change the steps you follow, know that I’m providing here my context-specific process in seed starting. I began by planning which seeds I’d like to grow. This was based purely on the seeds I have in my possession and the timing of growth for those plants. After I selected those seeds I looked at a list of companions and paired up the seeds I had. Remaining seeds were either set aside for the next growing season or started for planting in a container or another bed where they won’t steal nutrients from other plants. I typically make a diagram of the garden plan in a notebook I have (see above) which details where in my raised bed these plants will go. Then I cross-check my plan with the information I have on hand to be sure I don’t leave anything out or plant something next to something else that would sap nutrients.
Once I had the seeds set aside, I looked at my trays, garden space, and the number of seeds to see how many I could plant for each. Then I filled my trays with seed-starting soil and planted seeds according to instructions on the packet. If there weren’t instructions present, I looked it up. Germination can hinge on how the seed is planted.
Then I labeled the trays as I planted the seeds. I used the labels that were provided with the trays but ran out, and so I switched to masking tape. The words were written with a marker. I made sure there was good music playing while I was doing this. It made the effort more enjoyable for me, and also may have provided a good space for the seeds to proliferate.
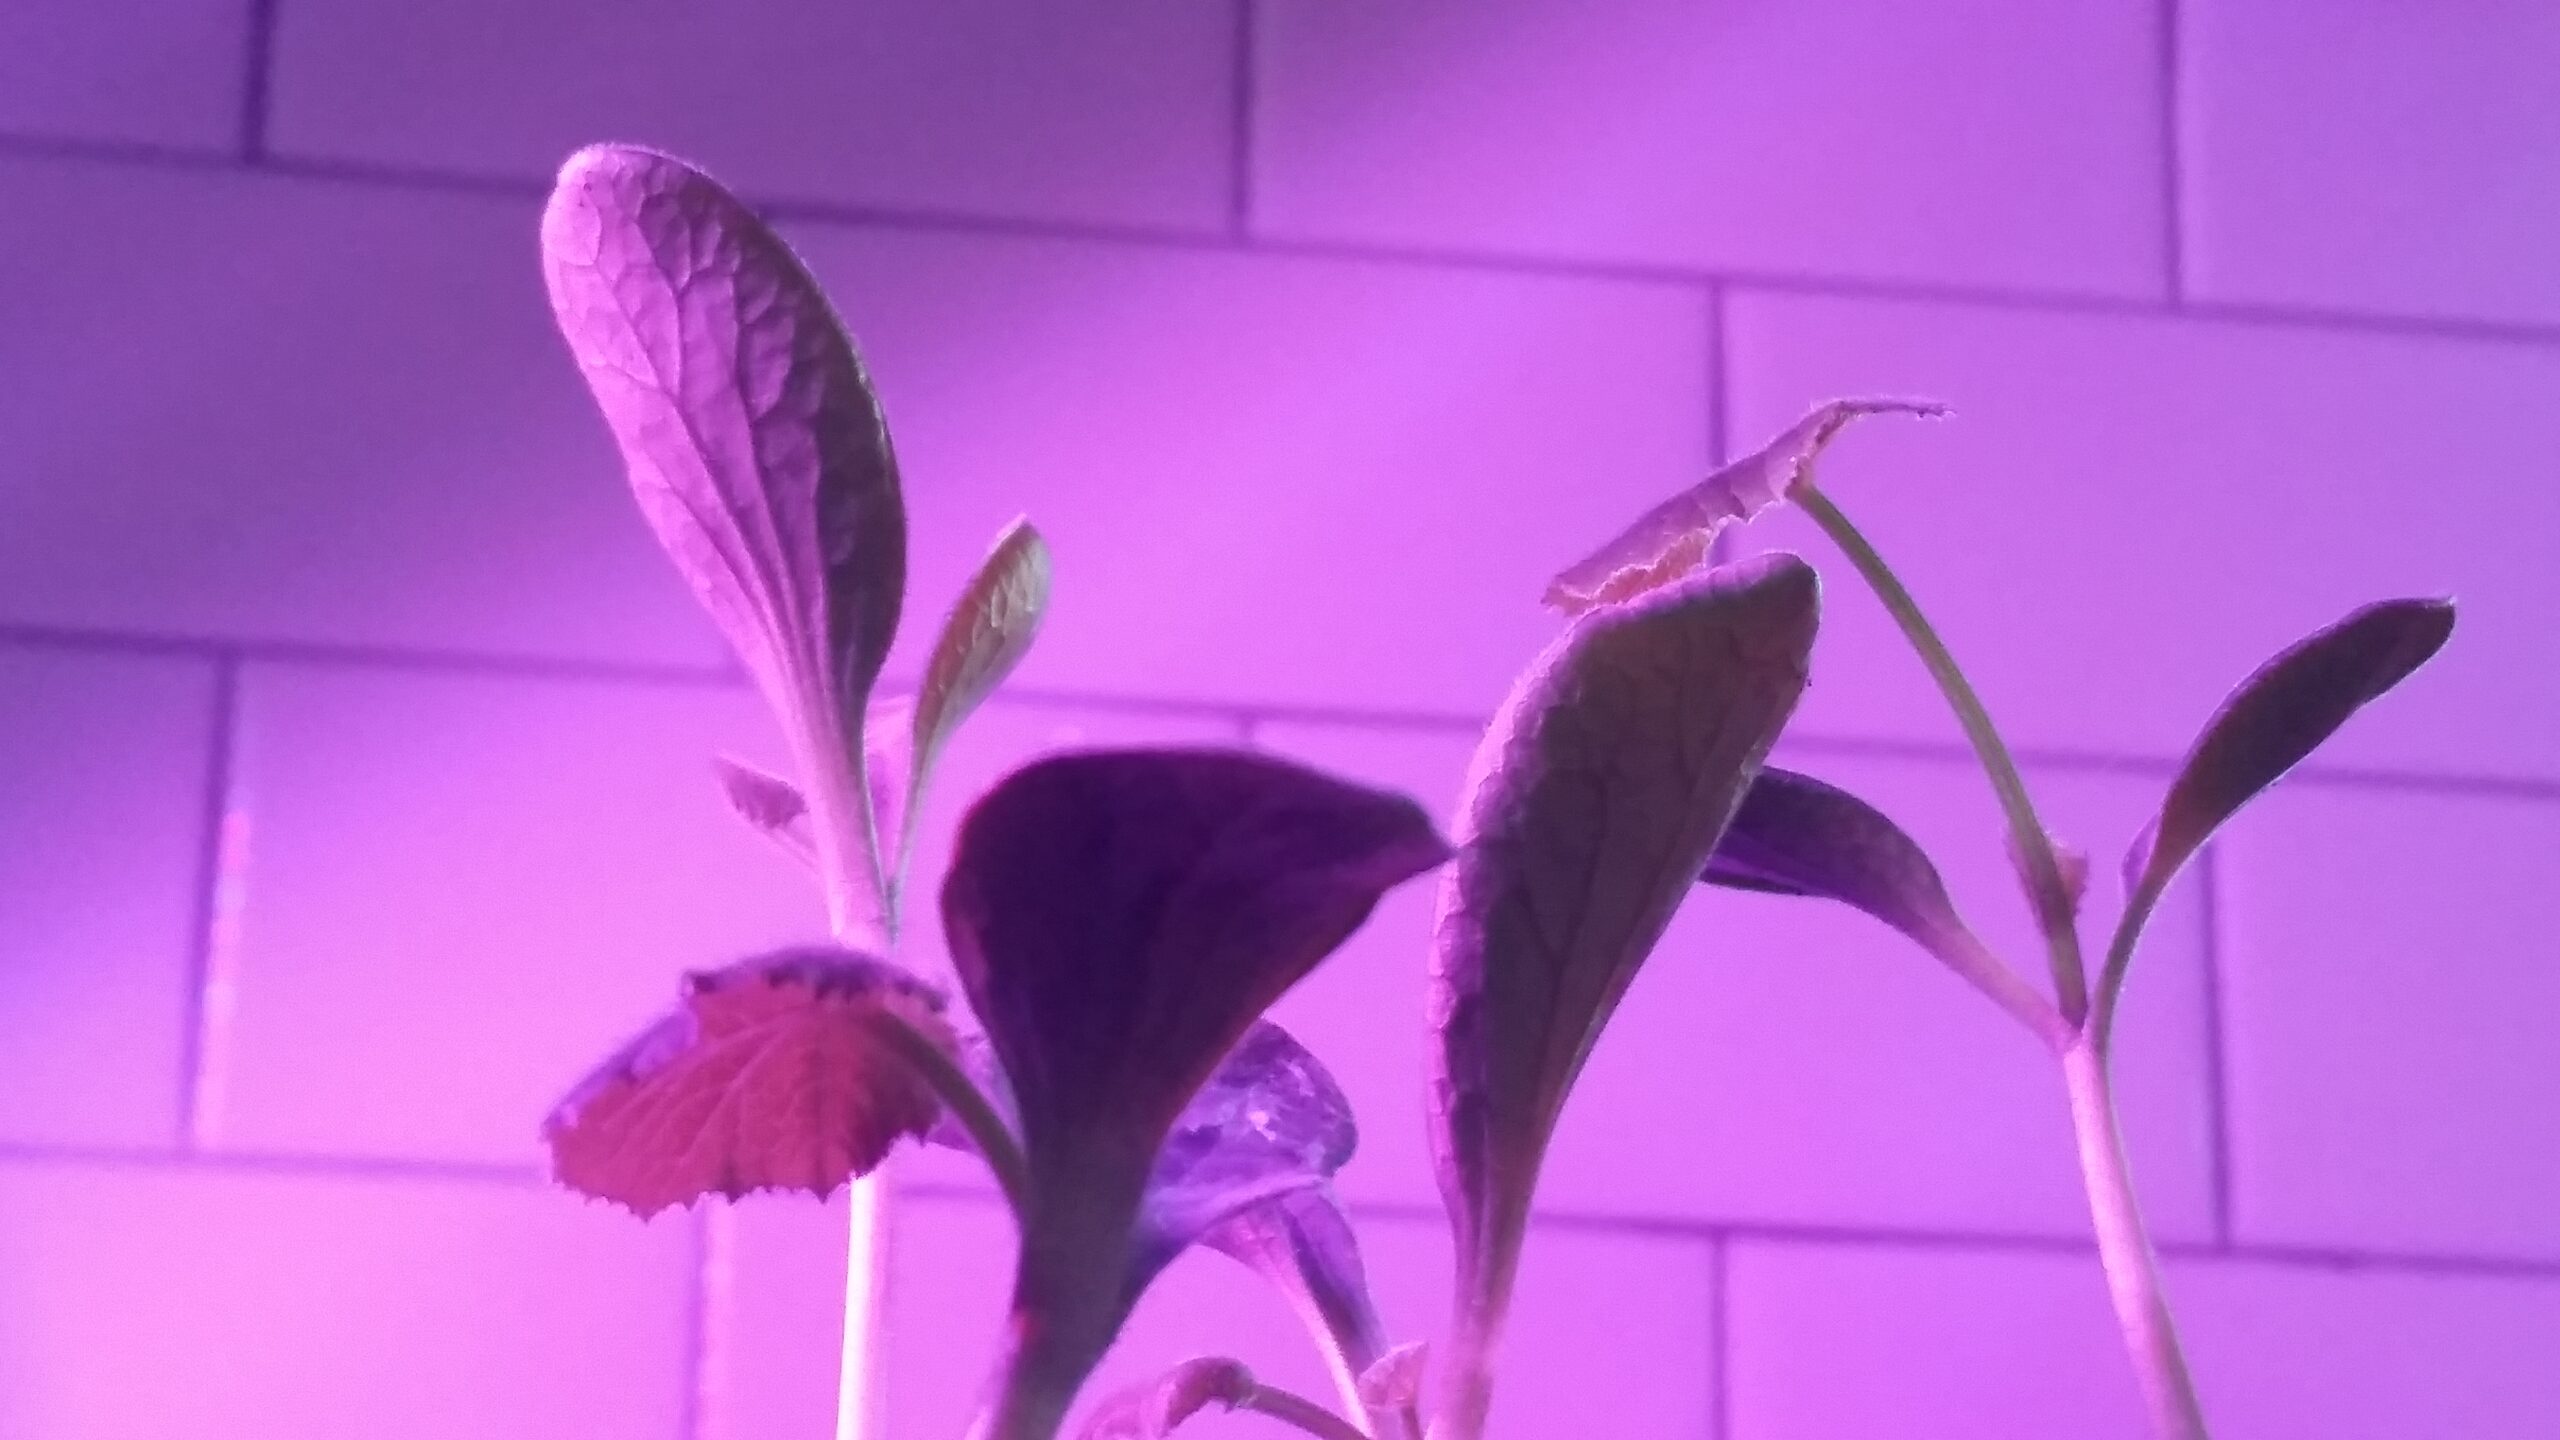
Finally I set up my trays in the sheet pans, watered the seeds with a dropper and turned on the grow light. At first I had the grow light on from the hours of 8am to 7pm. When the seedlings got a bit spindly I decided it would be alright to reduce that time to about 5-7 hours of light per day. The fact that we are moving into winter was also considered, so you will want to think about the amount of light in that season. I initially watered every day, but also cut that back as the light wasn’t drying out the trays quickly enough for that much water. You can also water from underneath, adding more water to non-porous water and dirt protection below as it dries up. Note that if you are using peat pots watering from below will deteriorate your planters. Light position is important. Experiment with this, and do some research if you notice your seedlings are looking wilted or spindly.
To get ready to transplant your seedlings into your garden, they’ll need to be hardened off in an area outside. The next article in this series will examine the process I followed for that. Stay tuned!
Recent Comments