I was visiting my sister the other day and found in her herb and food garden a very large planter of peppermint and lemon balm, which had managed to stave off several half weeks of frosty winter weather here in North Texas. It was thriving, so I immediately took the liberty of wafting in the aromas, rubbing the leaves between fingers and inhaling the oils left behind.
She offered me clippings, which I graciously took thinking I would use them in teas and culinary affairs. But when I got them home, I realized I could propagate them, and plant them in spring – in a very well-lit and easy to get to space, as peppermint can be invasive in our region. Peppermint has been known to jump beds and grow in separate areas from where it was planted.
I know this blog is adamant in its stance on growing natives. I stand by that stance. But sometimes gardeners should grow things they like, to grow for fun. I find this good for the soul. We can always keep native plants as the backbone of our gardens and in the soil but manage to maintain a bed or planter of closely watched and controlled non-natives.
Plus, the smell of a thriving bed of peppermint is incomparable in the hot, sweltering Texas heat of the summer. I will need a place to take a breather, so that is the foundation of my decision to propagate. Dreams of sweet mint teas and marinated meats have been floating through my mind since.
Clipping
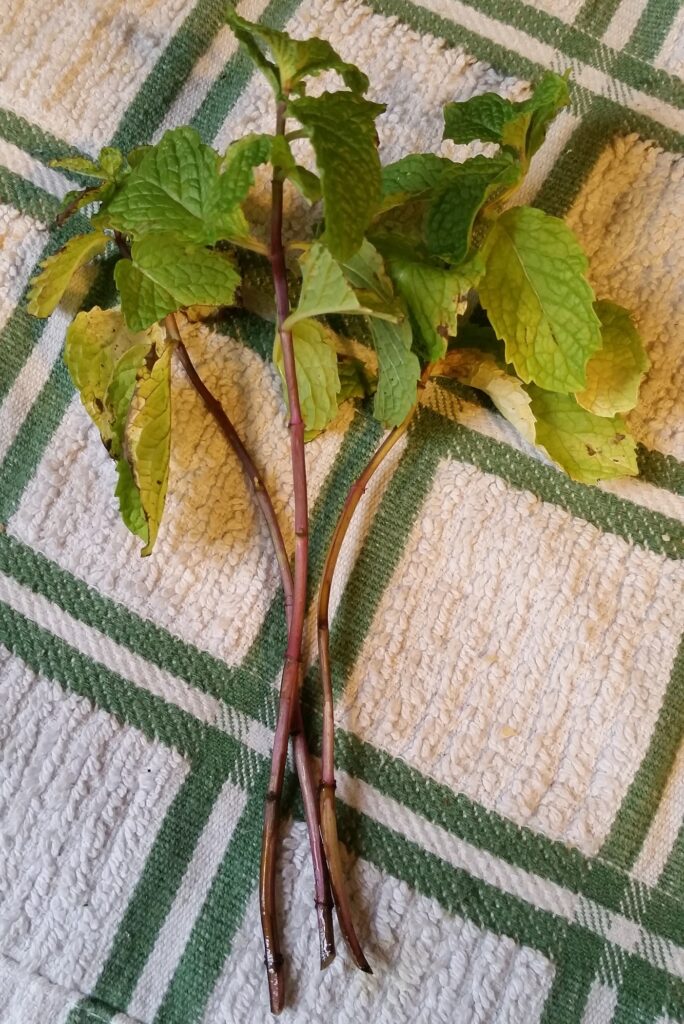
I began by selecting snips that had only a few leaves at the top. Clipping these allows the plant to divert energy elsewhere, to other leaves and stems that need it for growth. It also gives me options in terms of which container in which to root clippings. I can always trim down if necessary, but I cannot go back from there.
Choosing a Receptacle
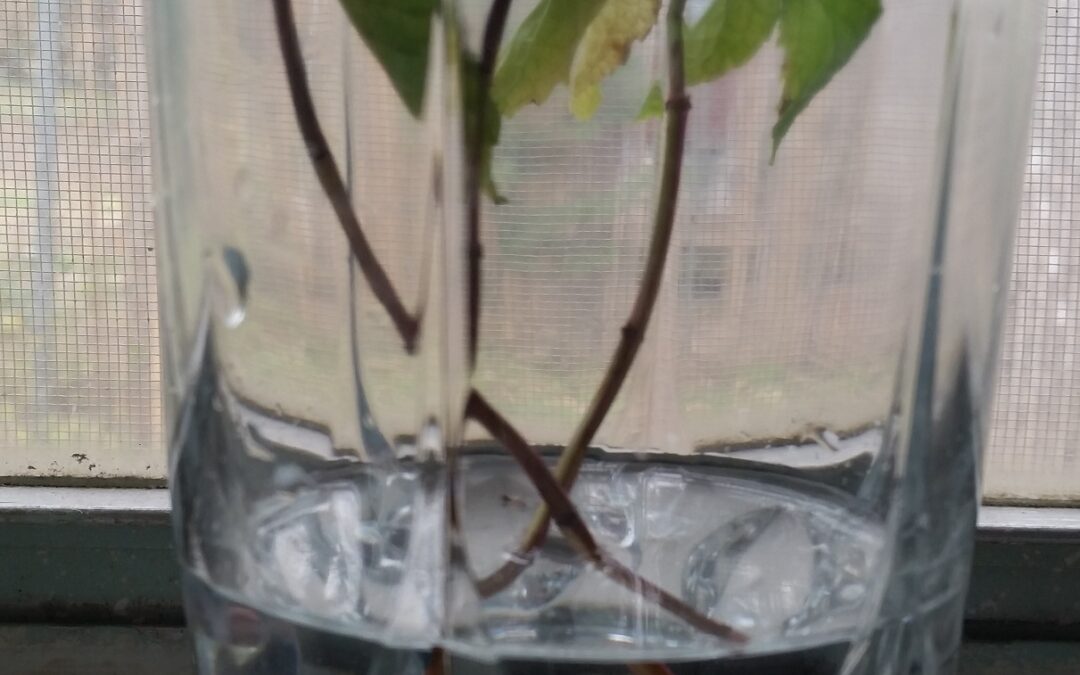
You can propagate mint by rooting in water or soil. For the purposes of this post, we are rooting in water. Beginners may enjoy this process more than rooting in soil, as they can see the roots forming as time goes on. It also allows more access to maintenance should there be any issues in the process. I chose this glass.
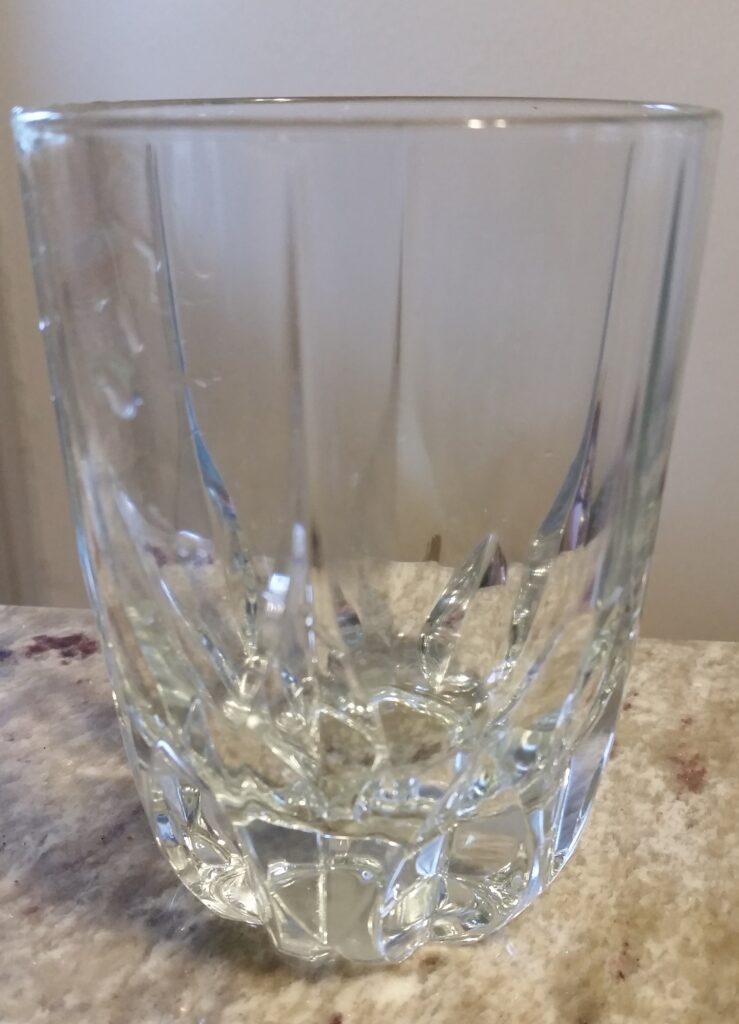
When propagating in water, you must choose a clear receptacle. This allows sun rays to get through the container and help those roots grow. Watching this occur is a kind of miraculous process. Roots pop right out of the stem, ready to be planted in soil. The container you choose should also be the right size for your propagating adventure. Add about an inch of water at the bottom. Remove any dead leaves, or leaves that might be submerged in water. Give the clippings a clip at the bottom of the stem just to keep them fresh and place them in the water.
Let the Sun In and Wait
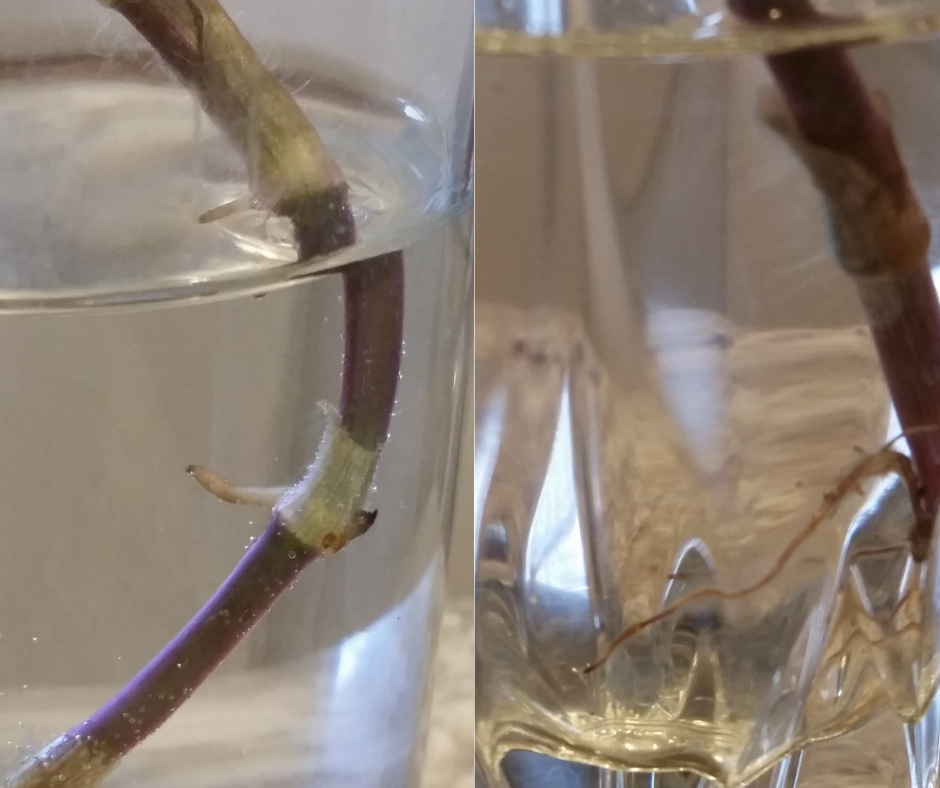
Place the rooting container in a window that is south-facing, preferably. This allows for maximum sun exposure, as the sun rises in the east and sets in the west. Sunlight the whole time the sun is out! Plants excrete ureic acid, so the water needs changing daily. It will take about two weeks for cuttings to grow roots. Then they can be planted in soil.
Since I just started to propagate my mint cuttings, I am including the result of my propagation adventure with Purple Queen (one of the easiest plants to propagate) here. The process for rooting Purple Queen is basically the same, and the roots of mint or any other herb will have a look that is specific to the plant. But expect roots to look a bit like this.
The most important part of this process is having fun! So have fun! And grow on.
Recent Comments